The Tasks page allows for employees with Ops Member access to manage the tasks.

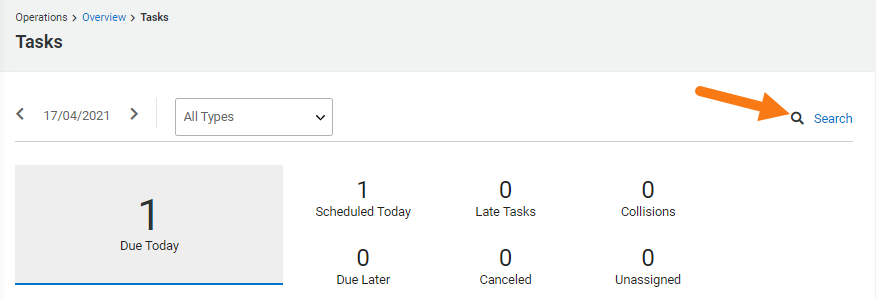
Only published and accepted tasks appear in the page. In order to visualize tasks that might not be published, have not been yet accepted by the employee, have been declined or have not been done on time, click on Search on the top right side of the page:
On the Search Tasks page, you are able to filter by:
- Task status: accepted, canceled, completed, declined, In progress, Not completed, not needed, pending or unknown
- Task type: see Operations Tasks article
- Assignee
- Scheduled between (start and end dates)
- Created between (start and end dates)
Once you have filtered the tasks list, you can take actions on each of them, on some of or to all in bulk by:
- Selecting the task/tasks you need to take action on (if you need to take action on all of them in bulk, you can click on “Select all” on the top of the list)
- On the dropdown menu on the top right side, select the action to take and then click on the blue Update button. The actions available are the following:
- Cancel: it will cancel the task/s
- Complete: it will mark the task/s as completed or done
- Publish: it will publish an unpublished task, so the assigned employee will be able to visualize it in their Operations panel
- Bump to today: it will move the task’s scheduled date from any day to today
- Bump to today: it will move the task’s scheduled date from any day to tomorrow
- Bump prior to check-in: it will move the task’s scheduled date from any day to the next reservation’s check-in date. If there is no future reservation for the unit, it will leave the task’s date to the existing one and will change the time to the one defined for check-ins.
- Reschedule to next day: it will move the task’s scheduled date from any day to the day after today
- Accept collisions: it will push the task to the assignee’s Operations panel even though there is a collision
Reassign: it will allow assigning the task to a different employee. Once “Update” is clicked, a pop-up with the list of available employees will be prompted and you will be able to select a different one and then Assign it.